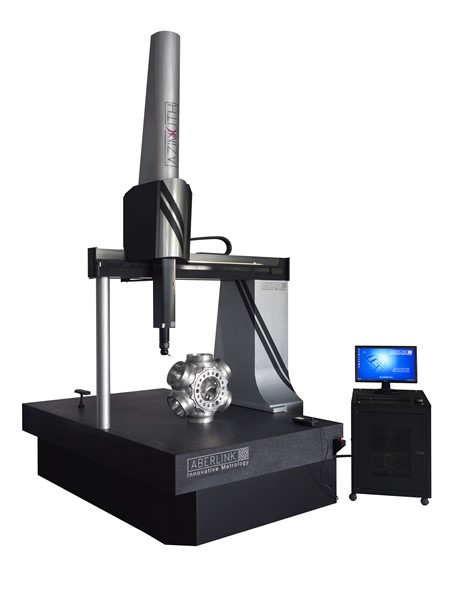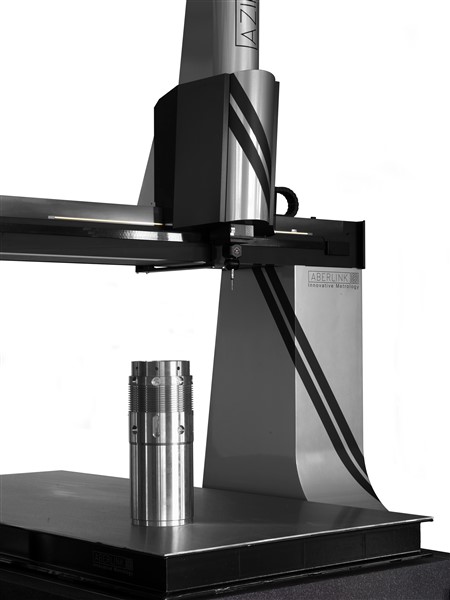
The revolutionary bridge of the Azimuth coordinate measuring machine incorporates aluminium honeycomb sheets developed for use in formula one and the aerospace industry. The remarkable stiffness to weight ratio that this provides gives the Azimuth an edge in both performance and speed. For a machine of this size, the Azimuth is not only fast, but extremely accurate.
As coordinate measuring machines get larger, it is not simply a case of scaling up the design of smaller models. Stiffness of the structure is critical, but weight must also be kept to a minimum. The Azimuth CMM is not only Aberlink’s largest in their range of CMM products, but it is the culmination of over twenty years’ experience and excellence in the design and manufacture of innovative metrology equipment incorporating the very latest materials technology.
The revolutionary bridge of the Azimuth incorporates aluminium honeycomb sheets developed for use in formula one and the aerospace industry. The remarkable stiffness to weight ratio that this provides gives the Azimuth an edge in both performance and speed. For a machine of this size, the Azimuth is not only fast, but extremely accurate.
The drive systems designed for the Azimuth offer simplicity and reliability and the novel system used on the Y axis ensures that there is no degradation of performance across the full range of machine sizes offered up to 3m. A big machine should also be able to measure a heavy component and this is another area where Aberlink have applied innovative thinking. Rather than simply increasing the depth of the granite table, which adds huge cost and weight to the machine, we offer a specially designed load plate to sit on the granite base. This plate can accept up to a six tonne load which will then be transmitted directly through the feet of the machine bench directly to the floor, meaning no loss of metrology performance whatsoever – just another really clever idea!
Key Features
- Capable of measuring parts up to 6000kg in weight
- Fitted with 0.0001mm linear encoders for superior accuracy
- Unique self-contained drive system ensures excellent performance over the entire measuring volume
- Anti-vibration mounts as standard
- Choice of Y axis sizes ranging from 1000mm to 3000mm Rapid, High Accuracy Large Volume CMM
| Axis Travel (mm) | Overall Size (mm) |
|---|---|
| X 1200 Y 1000, 1500, 2000, 2500, 3000 Z 1000 | X 1850 Y 2000, 2500, 3000, 3500, 4000 Z 2320 |
| *Volumetric Accuracy: | TP20 (2.9 + 0.4L/100) μm TP200 (2.8 + 0.4L/100) μm SP25M (2.6 + 0.4L/100) μm |
| Scale Resolution: | 0.1μm |
| **Optimum Temp Range: | 18 - 22°C |
| Operational Temp Range: | 0 - 45°C |
| Table: | Granite |
| Table Load Capacity: | 500kg as standard (Options up to 6000kg) |
| Max. Velocity Vector: | 1300mm/sec |
| Max. Acceleration Vector: | 1700mm/sec² |
| Air Consumption: | 50 l/min (1.8 cfm) |
| Required Air Pressure: | 4 bar (60 psi) |
**Installation environment thermal limits: Rate of change <1°C/hr and <2°C/24hr. Temperature gradient <1°C/m
| Suggested Probes Options (Renishaw): | Machine Options: |
|---|---|
| • PH10T (w/TP20, TP200) • PH20 • PH10M (w/SP25) • PH6M (w/SP25) | • Automatic Temperature Compensation • CCD Camera System • Collimated Back Light Option • Load plate for loads up to 6 tonnes |


